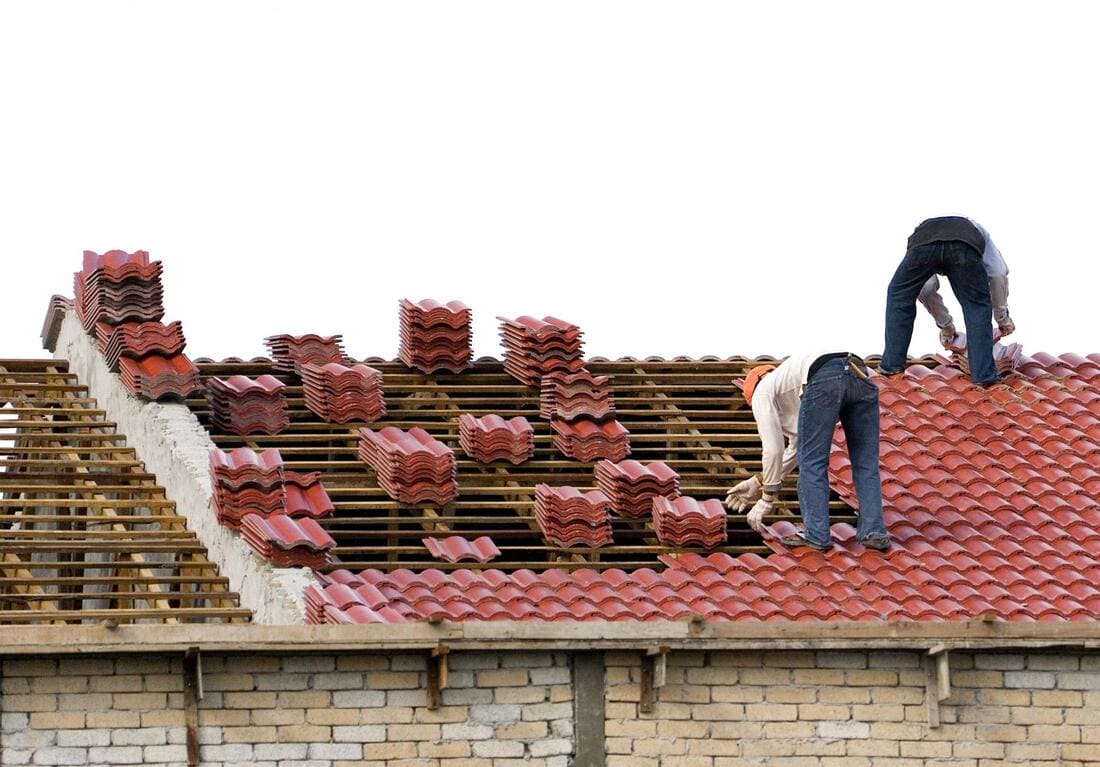
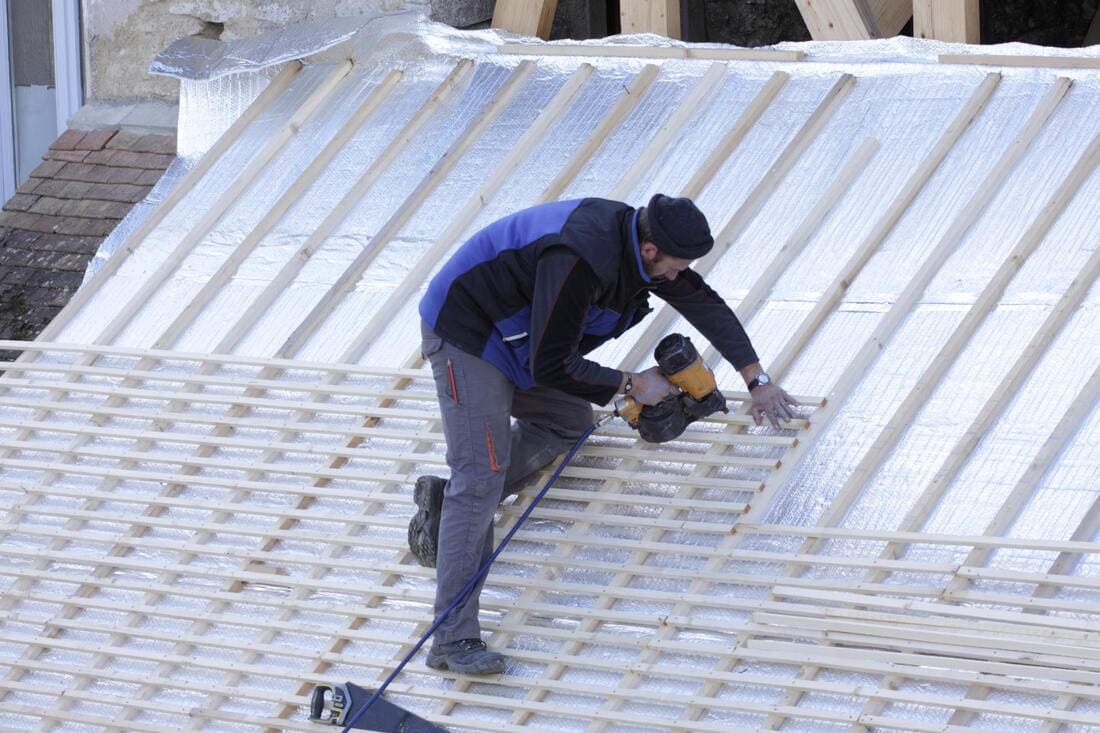
Foam and elastomeric roof diagnosis for worn coatings, exposed foam, blisters, ponding, scuppers, parapets, skylights, and rooftop-equipment transitions.
Spray polyurethane foam can remain useful for a long time, but its elastomeric coating is the exposed wear layer. Scottsdale sun, thermal movement, dust abrasion, and foot traffic work on that coating every day. A missed maintenance cycle can leave foam exposed before an indoor leak announces the problem. Valley roof owners commonly plan for coating review on roughly a five-year cycle, with the actual scope based on the installed system and current condition.
The first repair question is whether the foam remains dry, firm, and bonded. Coating placed over dirt, chalk, moisture, or an active split cannot correct the material below. The inspection should map blisters and soft areas, probe suspect damage where appropriate, follow drainage toward scuppers, and study every transition. On a custom home, the tile-to-foam joint may be more important than either open field because movement and runoff meet at that seam.
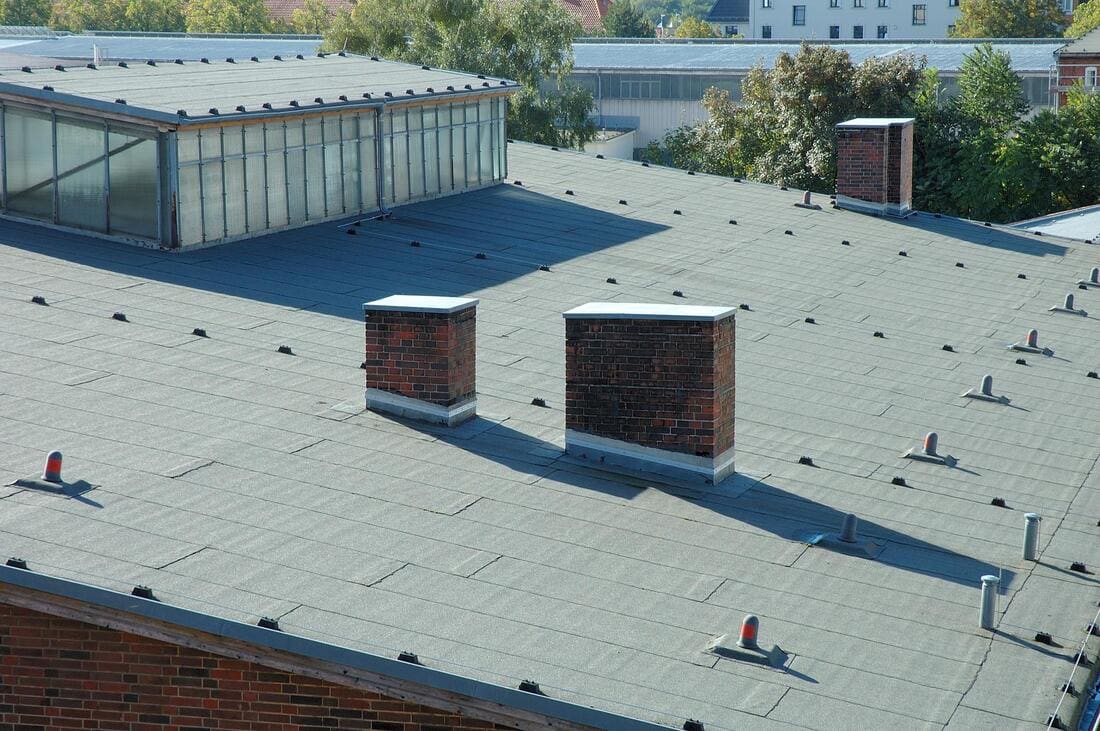
What a foam repair visit should check
A deliberate roof walk looks for chalking, thin spots, exposed foam, cracks, blisters, punctures, crushed traffic paths, loose terminations, and low areas that retain water. Scuppers and canales should be clear and bonded into the surrounding system. Dust and debris can slow discharge during a short heavy rain, while coating ridges from past work can hold a shallow pond behind them. Photos should locate defects relative to walls and rooms below so the owner can follow the diagnosis.
Parapet returns, skylight curbs, vent pipes, conduit, drains, and rooftop HVAC supports concentrate movement. Equipment service can leave a puncture or compressed path several feet from the curb, so a leak that followed recent roof traffic deserves a wider search. The tile-to-foam edge also needs an intact, compatible transition. Smearing sealant across a moving joint without preparing its sides usually conceals the detail rather than rebuilding it.
Recoat timing
Recoating is maintenance when it happens before broad exposure. Sound work begins with cleaning, adhesion-compatible preparation, removal of failed material, crack and blister treatment, and reconstruction of weak edges. The proposal should name the coating system and explain the detail work included at parapets, scuppers, skylights, and equipment. A price stated only by square foot can miss the labor that makes those boundaries watertight.
If moisture has entered isolated foam, the contractor may remove that section and rebuild it before coating. Widespread wet areas, poor slope, recurring ponding, or extensive bond failure can change restoration into a larger replacement discussion. Call (623) 283-1450 for an inspection before the coating wears through across the field; catching exposed spots early leaves more repair options than waiting for the first ceiling stain.
From first symptom to written repair scope
The first conversation establishes the material, leak behavior, flat sections, skylights, parapets, recent weather, safe access, and any gate or property-manager instructions. Those details determine what the inspector should examine and whether temporary protection needs to precede a complete diagnosis.
After inspection, the homeowner should receive photos tied to a written scope. It identifies the failure, work area, material assumptions, temporary measures, cleanup, and any credible restoration or replacement alternative. The assigned contractor verifies applicable city, county, and HOA requirements before replacement or structural work begins.
Related decisions are explained in the tile repair guide, foam roof guide, leak-tracing guide, and Scottsdale pricing guide. Each page addresses a different part of the scope so bids can be compared against the roof condition actually documented. A free inspection with photos is the starting point when the roof's condition is the open question.